
Managing Call Recordings/Interactions
From the Interactions tab, you can access the following:
- Completed tab - Shows all completed recorded calls for all assigned users.
- In Progress tab - Shows information for all current calls, as well as which calls are currently being recorded.
- Recycle Bin tab - Includes calls with a recording that are pending deletion from the system.
Completed Calls
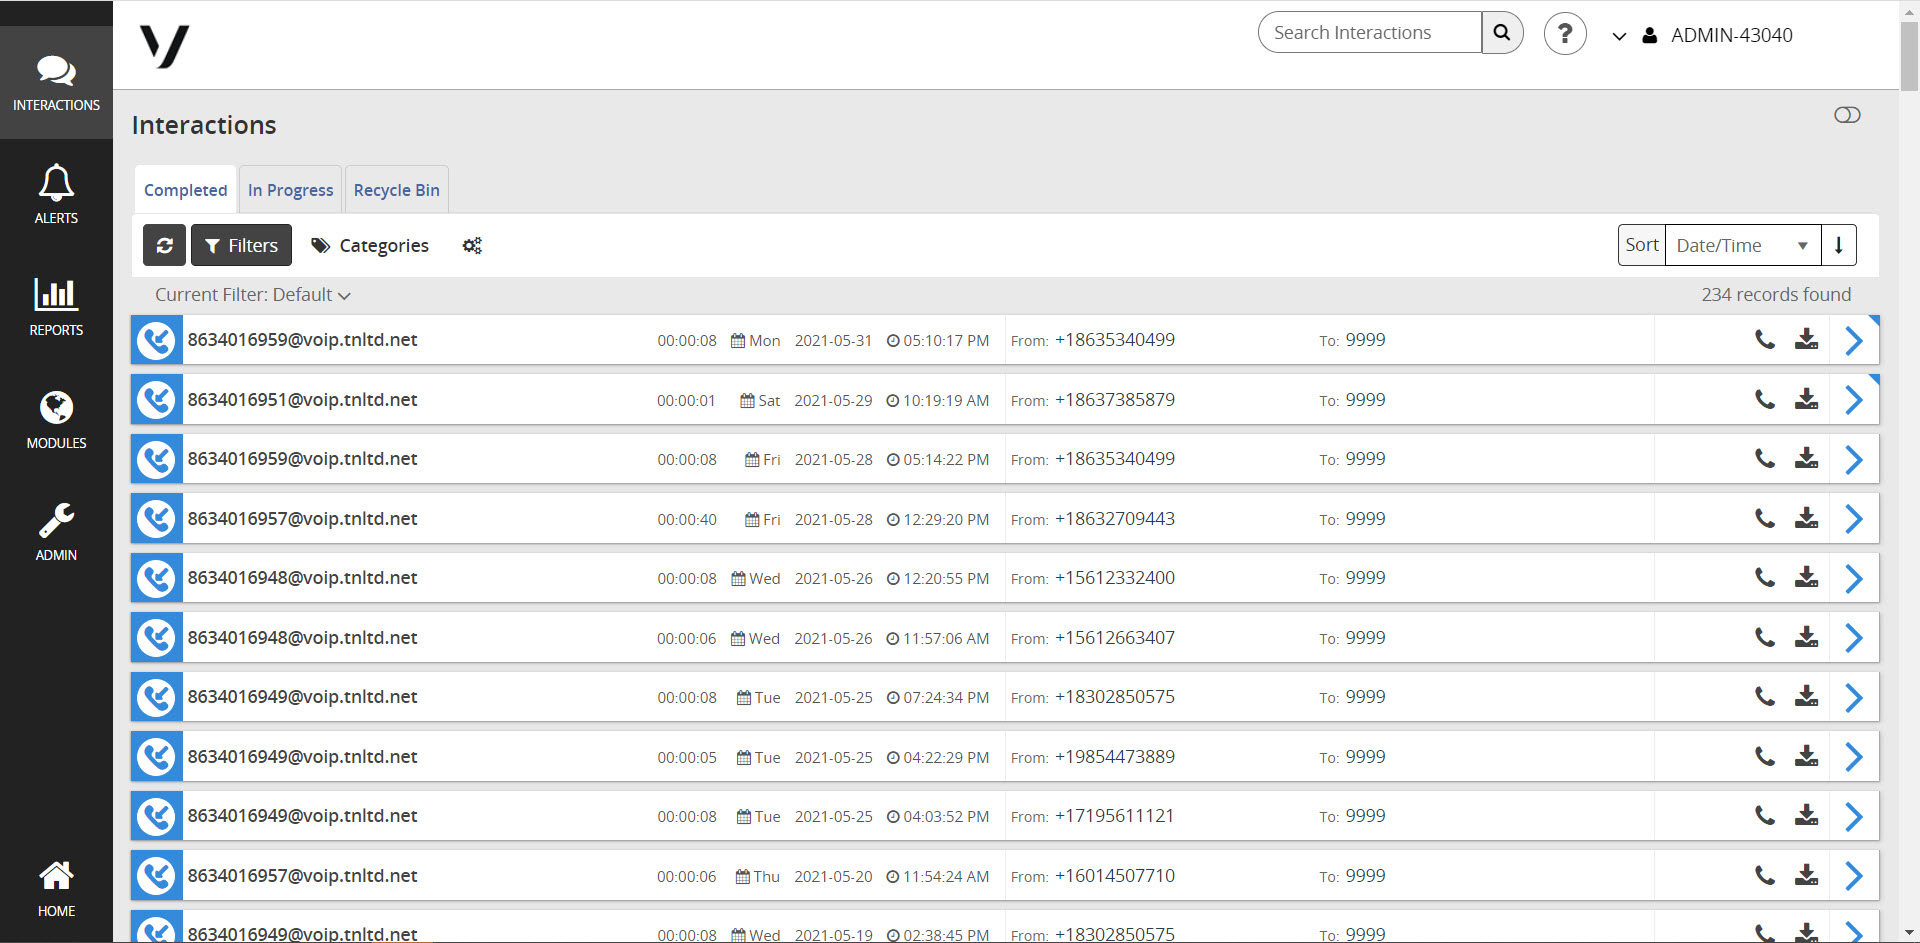
On the Completed tab are all completed, recorded calls for all users assigned the Call Recording feature. For each item, the following information is available:
- Call Handler’s phone number, or name, if that has been saved
- How long the call lasted (in hours: minutes: seconds format)
- Day of the week
- Calendar date
- Time the call took place
- Number and Caller ID of the originator of the call
- Number and Caller ID of the person who was called
- If the call was redirected, like from an Auto Attendant, or to another department in the company, that information is also available
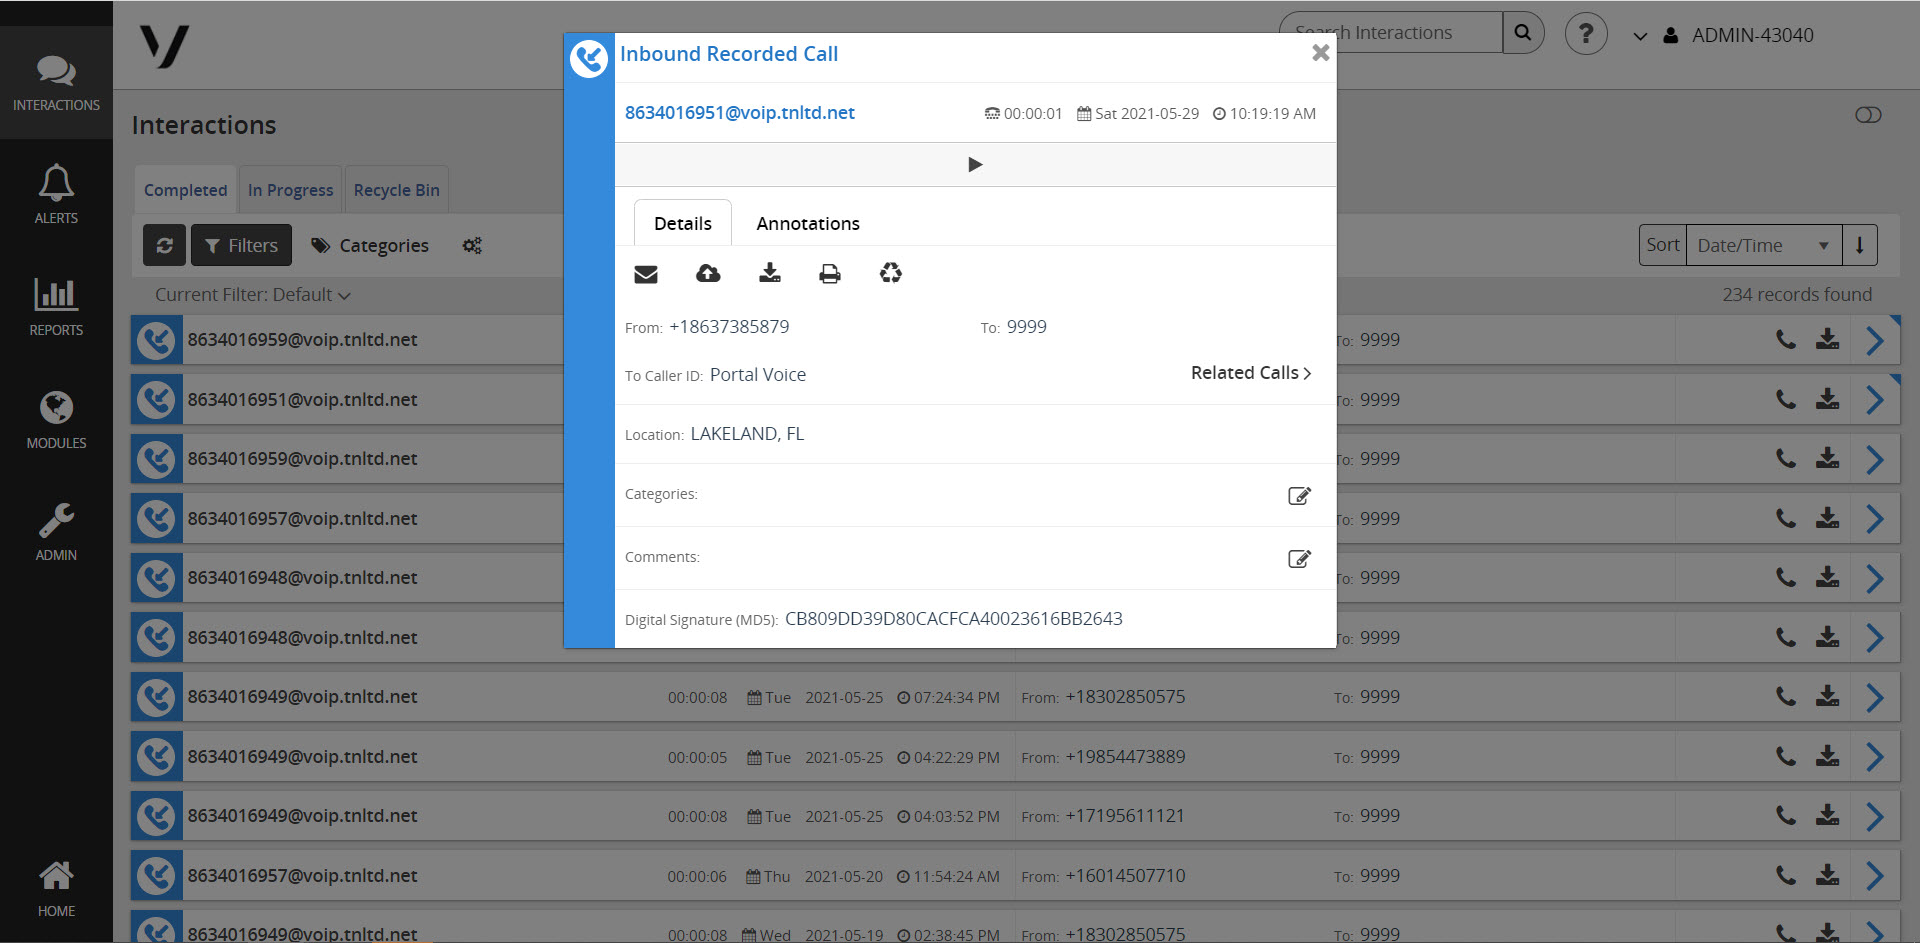
You can play back a call, annotate it, email it, comment on it, and categorize it. To do any of these things, click the arrow next to the call to modify and the following pop-up appears.
Sorting & Filtering
In order to more easily view the Completed calls list, you can sort the data by using filters.
- Click Filters.
- Click Add Rule.
- In the drop-down, select the type of filter.
- Enter or select the applicable information for each filter.
- To add another filter, click Add Rule and select from the drop-down menu.
- Once all of your filters and fields are completed, click Apply to view the results of your filtered search.

If there is a common filter that you will use often, you can save it to use again later easily.
- Once you’ve entered your filter specifics, add a Filter Name.
- Click Save.

Playing
As a Call Recording admin, you can listen to calls you’ve recorded at any time.
- Find the call you’d like to listen to.
- Next to that call, select the Phone icon, and the message will begin to play.
- You can use the buttons under the playing recording to pause, rewind, fast forward, speed up, and/or adjust the volume.

Annotating
As a Call Recording admin, you may want to make notes at specific points in the playback of a recorded call, which may be helpful in training employees or documenting items for security or legal reasons.
- Find the call you’d like to annotate.
- Next to that call, select the Phone icon, and the message will begin to play.
- Select Pause when you come to a point in the call that you wish to annotate.
- Click the Annotations tab.
- Click Add Annotation.
- Enter the information.
- You can attach a document to a marker by clicking Select File.
- When you’re done annotating, click Save.

Emailing
If you need to send a recorded call by email to someone, from the Completed tab:
- Find the call you’d like to email.
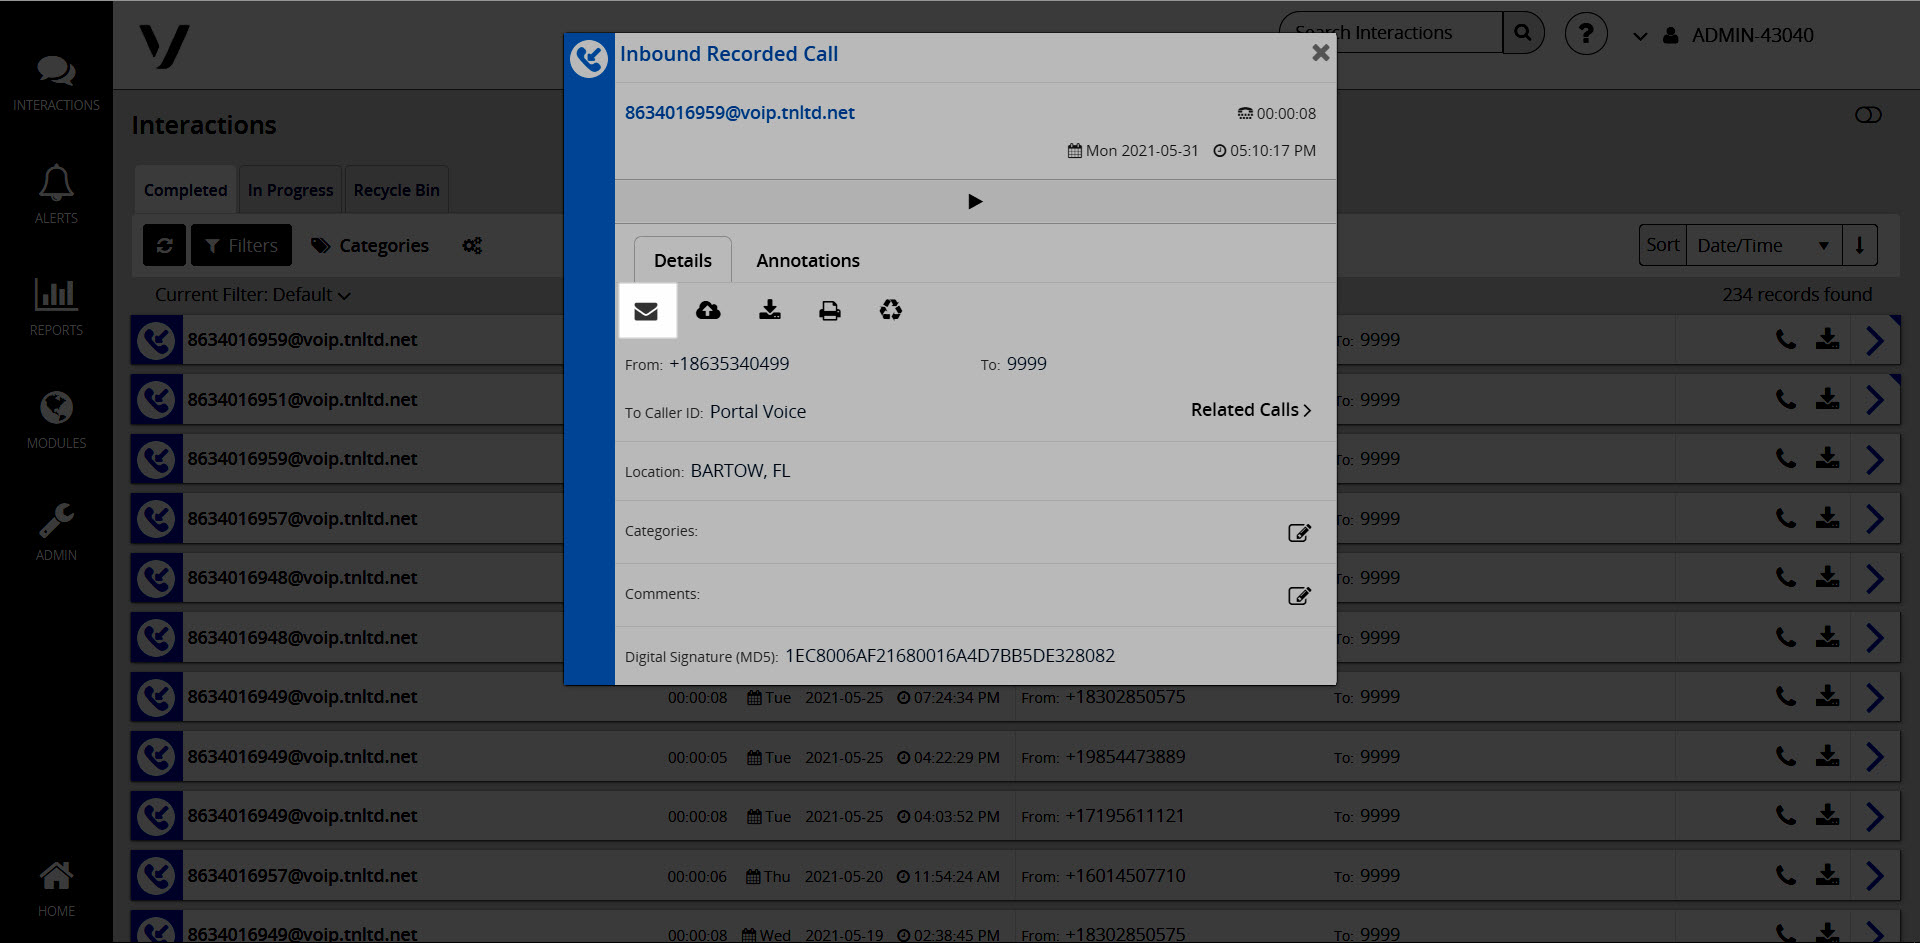
- Click the Arrow to open more information and actions without automatically playing the recording.
- Click the Email button. An email message including a link that will play the call opens.
Commenting
You can add Comments to a recorded call. This is useful in situations where a customer has called in several times. Comments can be added to the call so that other Call Handlers can see the notes of the steps previously taken with the caller, ensuring better handling for any future calls from the customer. To add a Comment to a recorded call:
- Find the call you’d like to email.
- Click the Arrow to open more information and actions without automatically playing the recording.
- Next to Comments, click the Edit Comments icon.
- Enter your comment and click Save.

Categorizing (Level 3)
You can create, apply, and manage Categories, which you can apply to specific calls. Categorization allows you to add labels to similar-type calls which helps in viewing and reporting on Call Trends. Categories are not pre-defined and must be created before they can be applied to recorded calls. This customization allows you to create Categories for calls in areas unique to your business, like geographic regions or customer satisfaction indicators, for example.
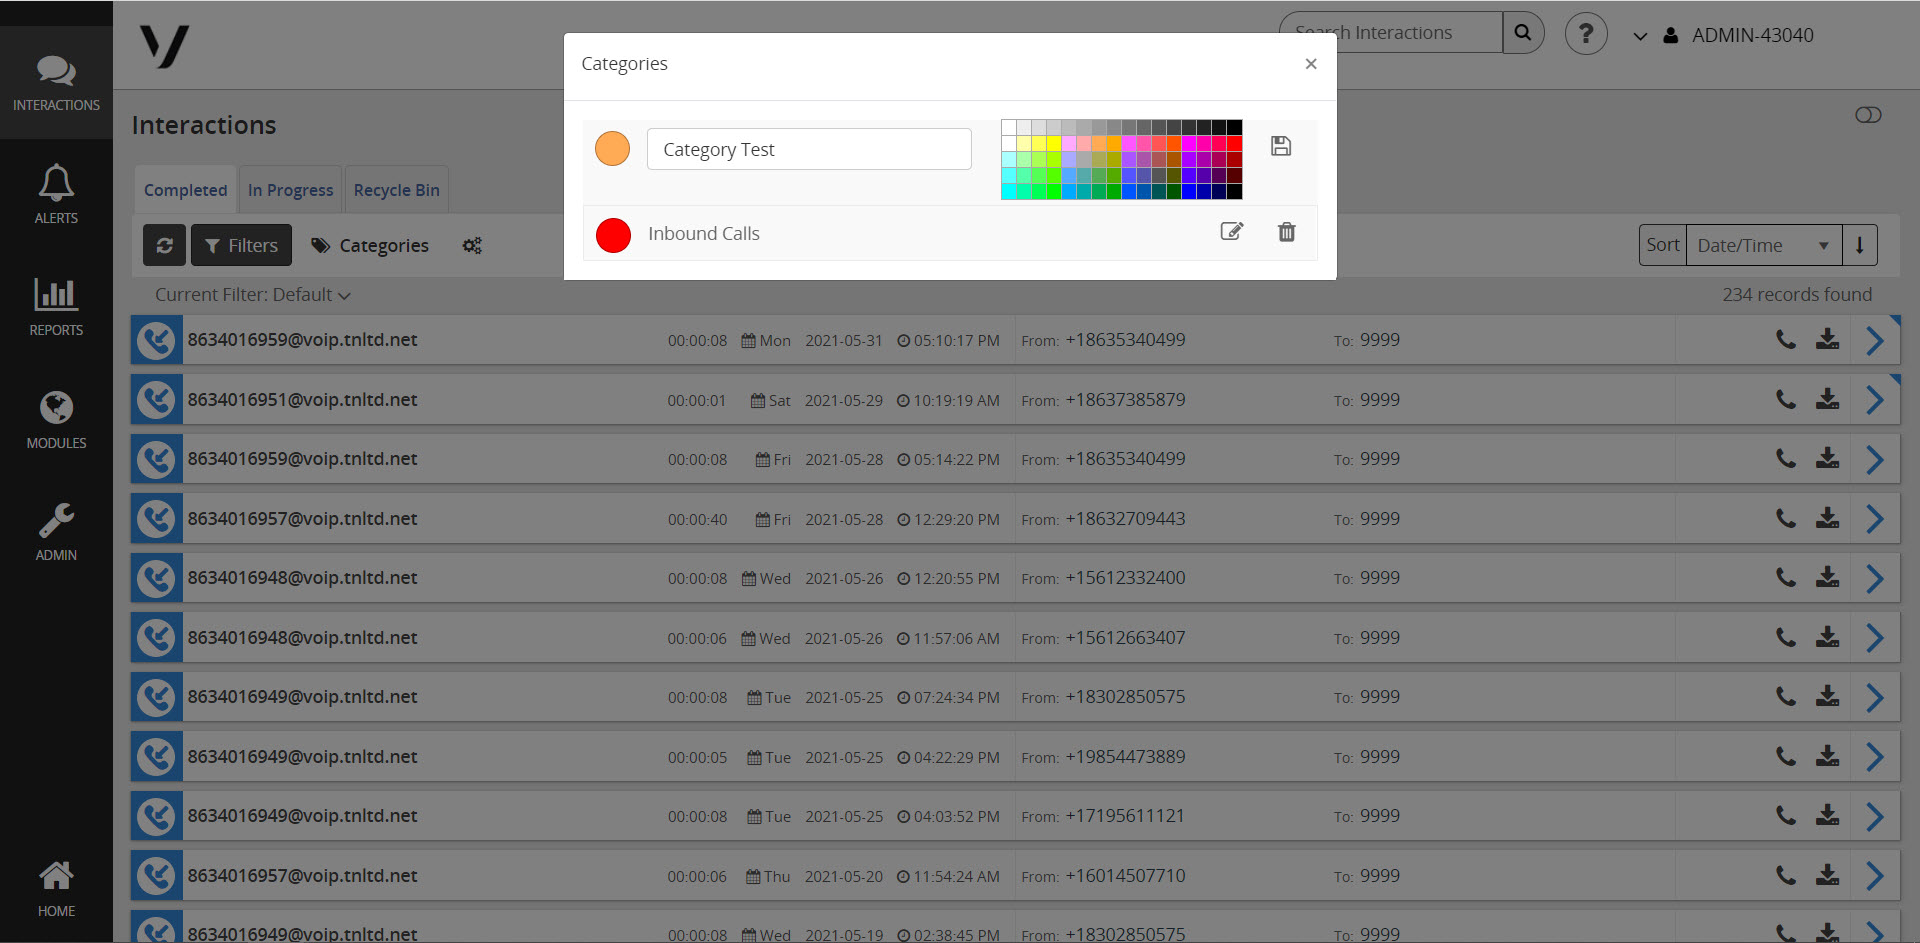
- Click Categories to set up or manage a category.
- To add a new category, enter the name of the category.
- You can select a specific color to code the category in order to make viewing the sorted categories easier. The selected colors will be used in the graphs featured in the Dashboard.
- Click Save.
To edit a category title:
- Click Categories.
- Select the Edit icon next to the category you would like to edit.
- Change the name or color-coding for the category.
- Click Save.
To delete a category:
- Click Categories.
- Select the Trash icon next to the category you would like to remove.
Note: If you delete a category, you will have to manually categorize the calls again. It is recommended that you set up your primary call categories when you first begin using the Call Recording Portal, then add new categories later as needed.
Downloading
You can download an .MP3 zip file of a recorded call to your computer at any time.
- From the Completed tab, find the call you’d like to download.
- Click the Download icon, and the file will appear in your Downloads folder, saved locally.

Exporting a Recorded Calls List
The Call Recording Portal allows you to easily export and save a list of recorded calls in .csv format. Information that is exported about each call includes the same information you see in your Completed tab.
- From the Completed tab, use the filter to select the specific calls for which you’d like an exported list. Once you have reached your target list, select the recordings you would like to export.
- To export all, select none.
- Click the Bulk Settings icon.
- Click Export Selected or Export All and a .csv file will download to your computer.
